Overview
Normally, traffic is sent unencrypted over network or the Internet. Obviously, this is not secure, especially in sensible applications, such as eToken authentication, transferring confidential data, etc. The Secure Socket Layer is used to encrypt the data stream between the software on two computers.
SSL uses the mechanism of asymmetric cryptography, also known as public key cryptography (PKI). In this scenario, two keys are created, public and private. Any data encrypted with one of the keys can only be decrypted with another key. Thus if a traffic was encrypted with the server's private key, it can be decrypted only with corresponding public key, and we can be sure that the data origins from the server.
The certificate, signed by a trusted Certificate Authority (CA), proves that the certificate holder is really who he claims to be, preventing impersonation attacks.
In this article we will show how to set up a trusted Certificate Authority for a small company and generate self-signed certificates to provide SSL connection. There are a lot of software products for SSL certificate generation. We recommend to use OpenSSL in console mode or cross-platform GUI program X Certificate and Key management (XCA).
Step 1: Setup Your Own Certificate Authority
Run X Certificate and Key management (XCA) program. If it is the first use of the program, new DataBase should be created. Click File - New DataBase and follow the wizard. During creation you should pick a place where DataBase will be stored and setup a password that will be used to encrypt it.

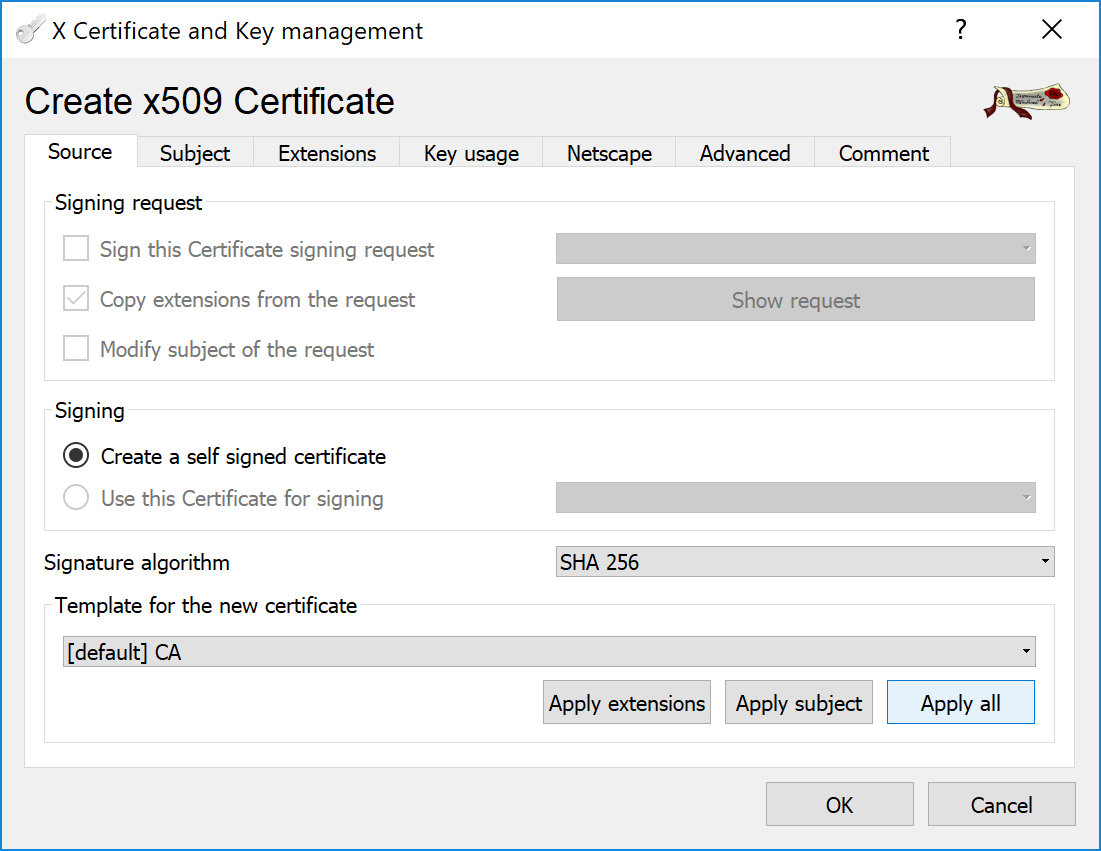
When the DataBase is created, go to Certificates tab and click button. Select Create a self signed certificate and [default] CA as a template.
In the Subject tab, fill all the fields in the Distinguished name group and generate a private key by clicking the button.
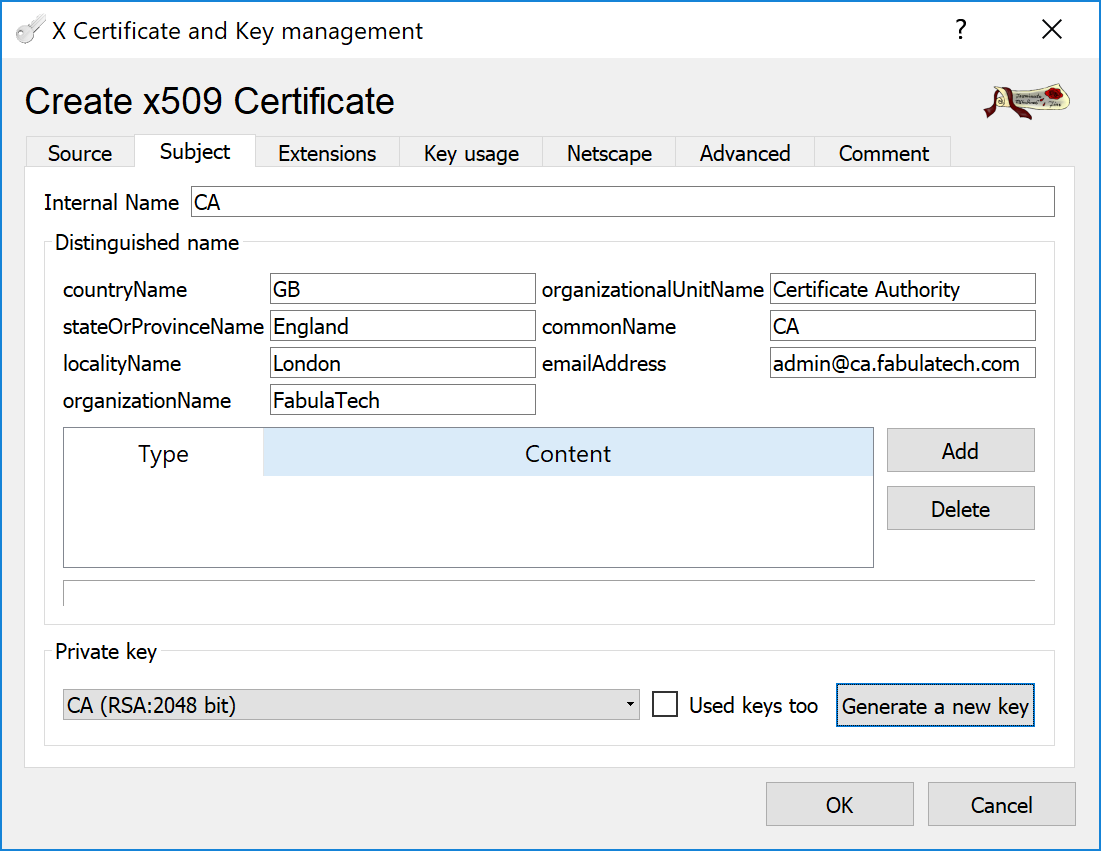
Give a name to the new key, for example CA.

Switch to the Extensions tab and specify a Time range for the Certificate Authority to be valid.
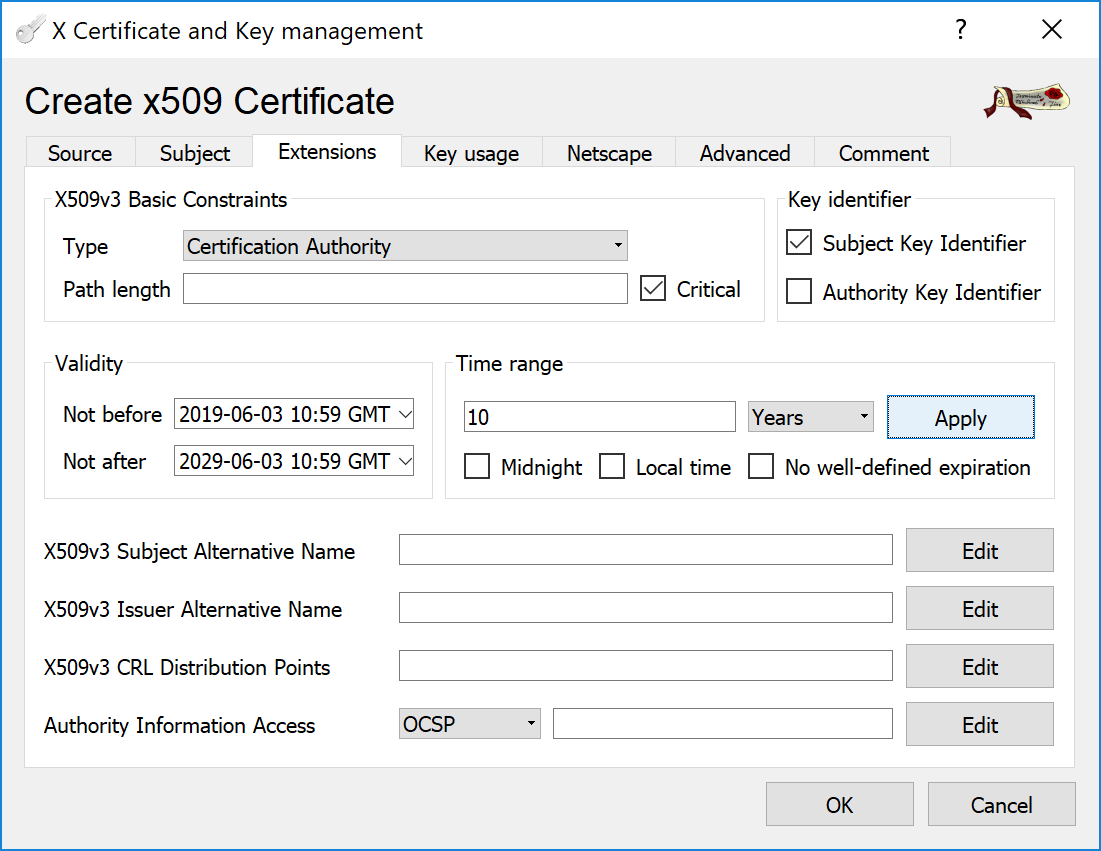
That's it. Click button and CA certificate will be generated.
Step 2: Generate Server Certificate
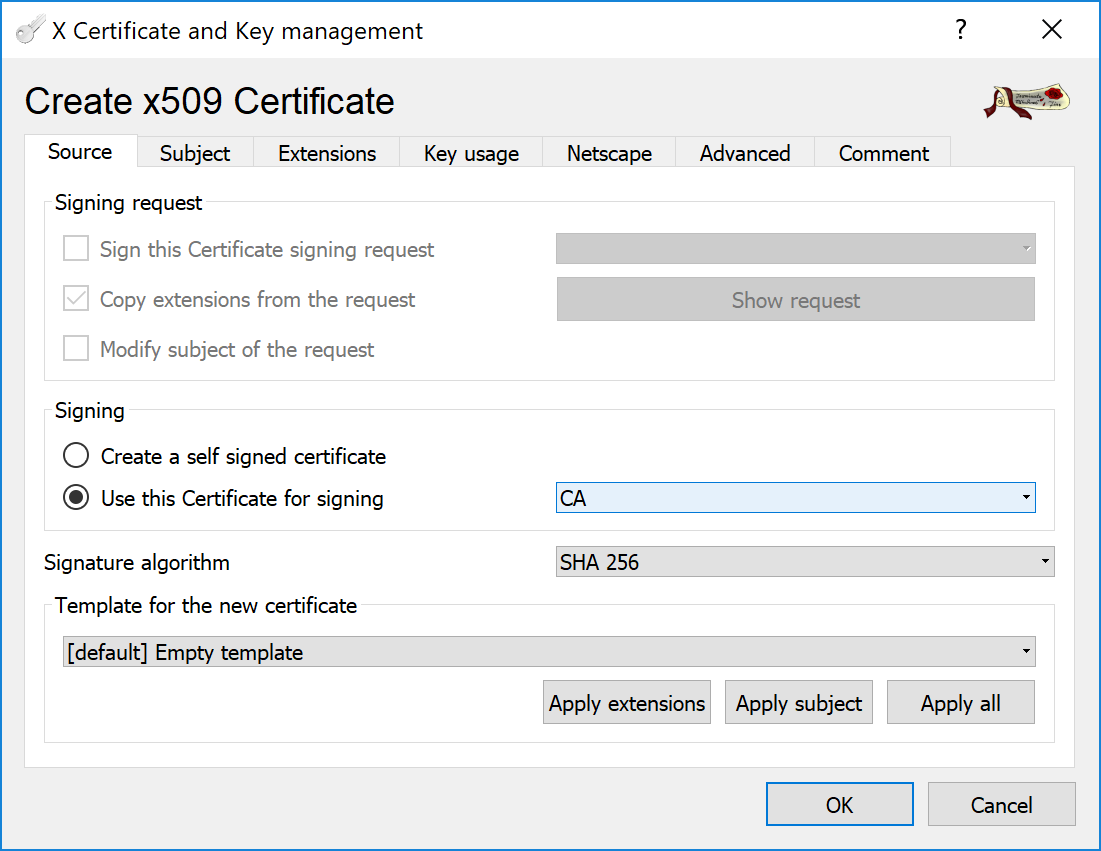
In the XCA program, click button again. Then select Use this Certificate for signing and specify earlier created CA certificate.
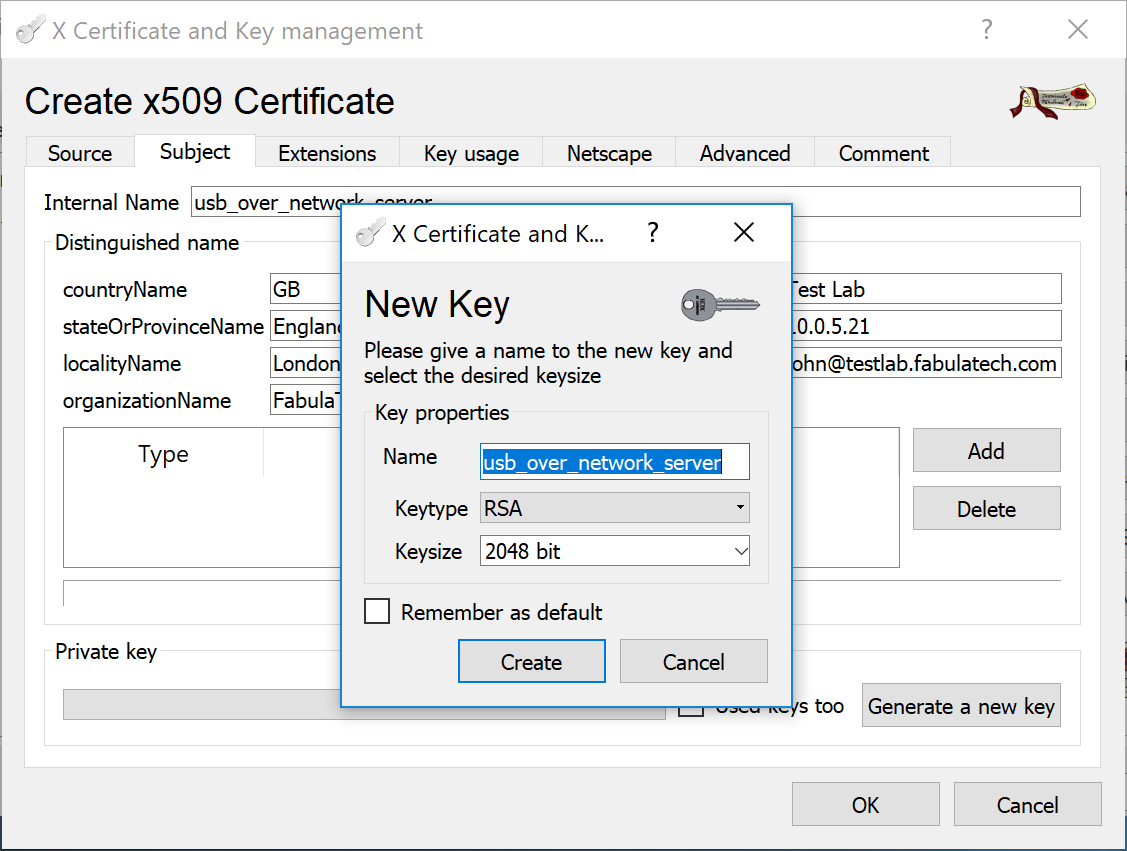
In the Subject tab, fill all the fields in the Distinguished name group and generate a private key by clicking the button.
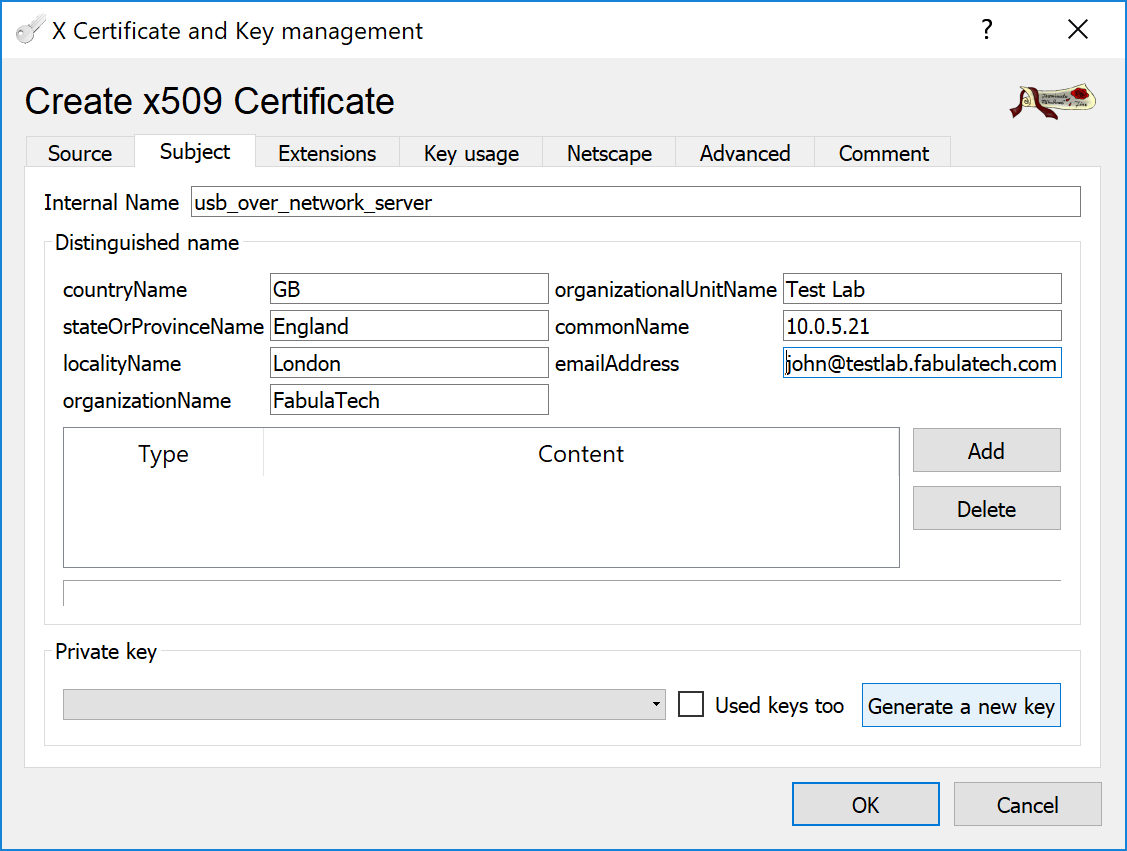
Give a name to the new key, for example usb_over_network_server.
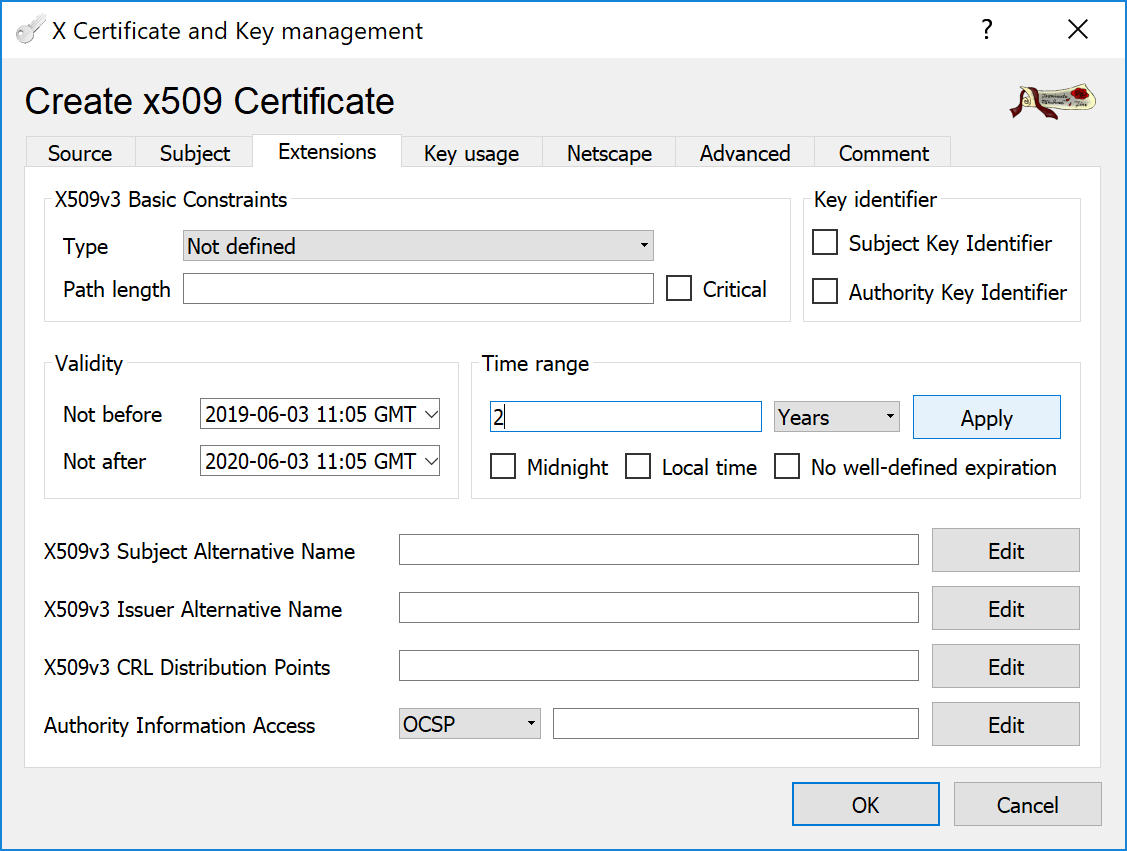
Switch to the Extensions tab and specify a Time range for the Certificate to be valid.
Then click button and Server Certificate will be generated.
Step 3: Export Certificates and Private Key
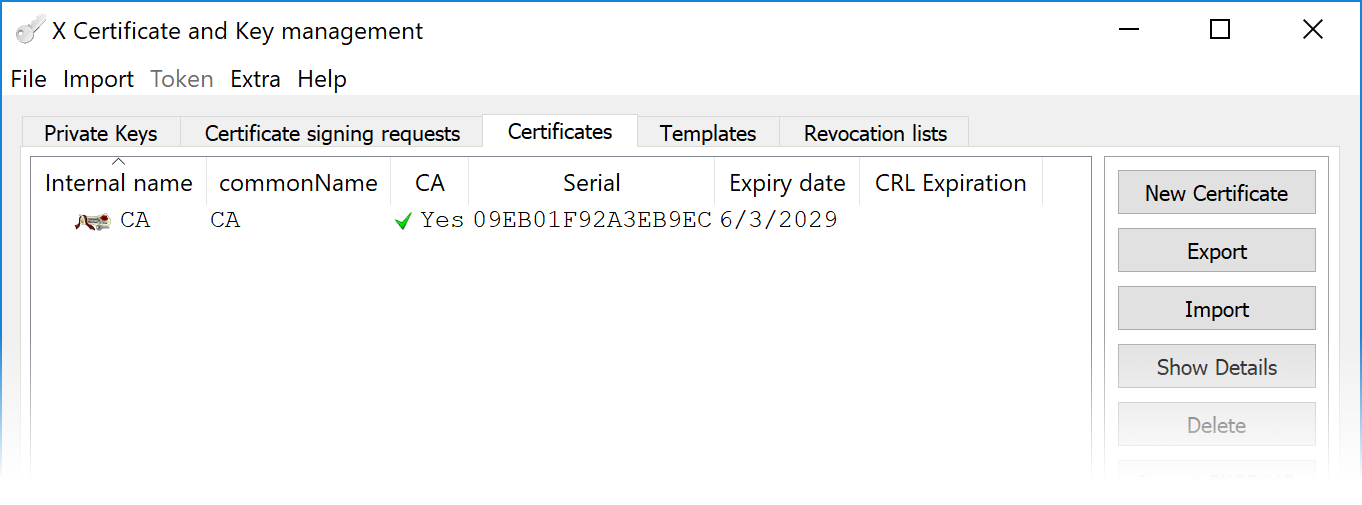
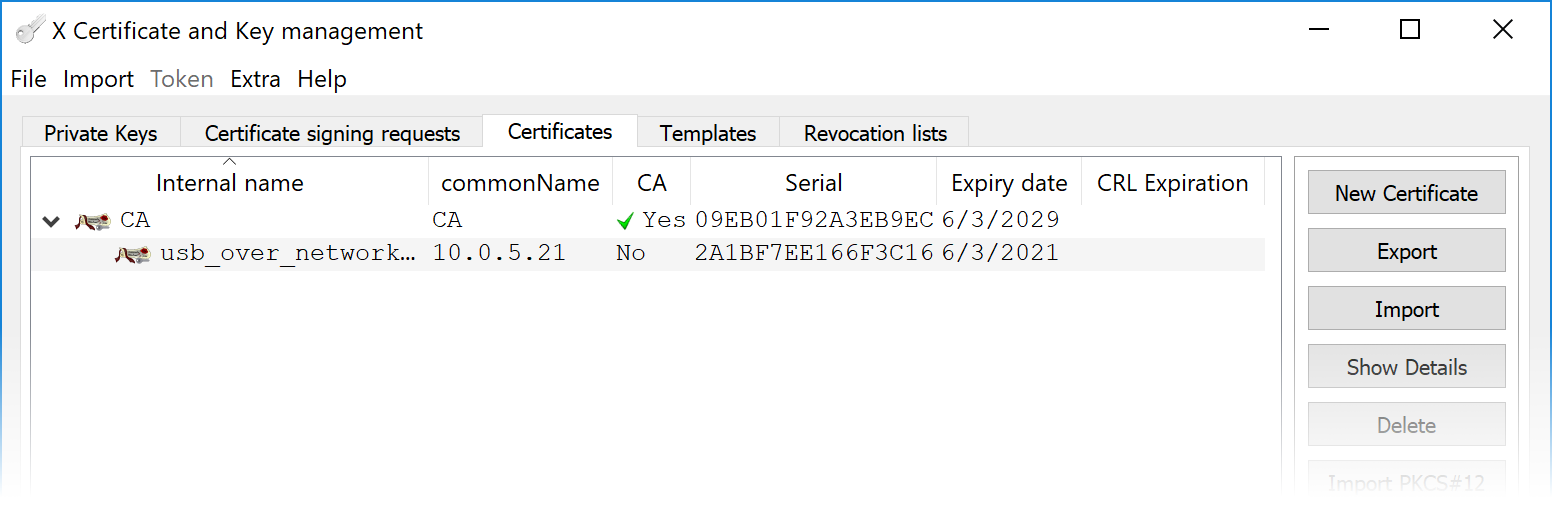
In the XCA program, go to Certificates tab, highlight the CA Certificate and click button. Specify name and path for exporting the PEM-encoded CA.crt file. This file needs to be moved to Client computers later.
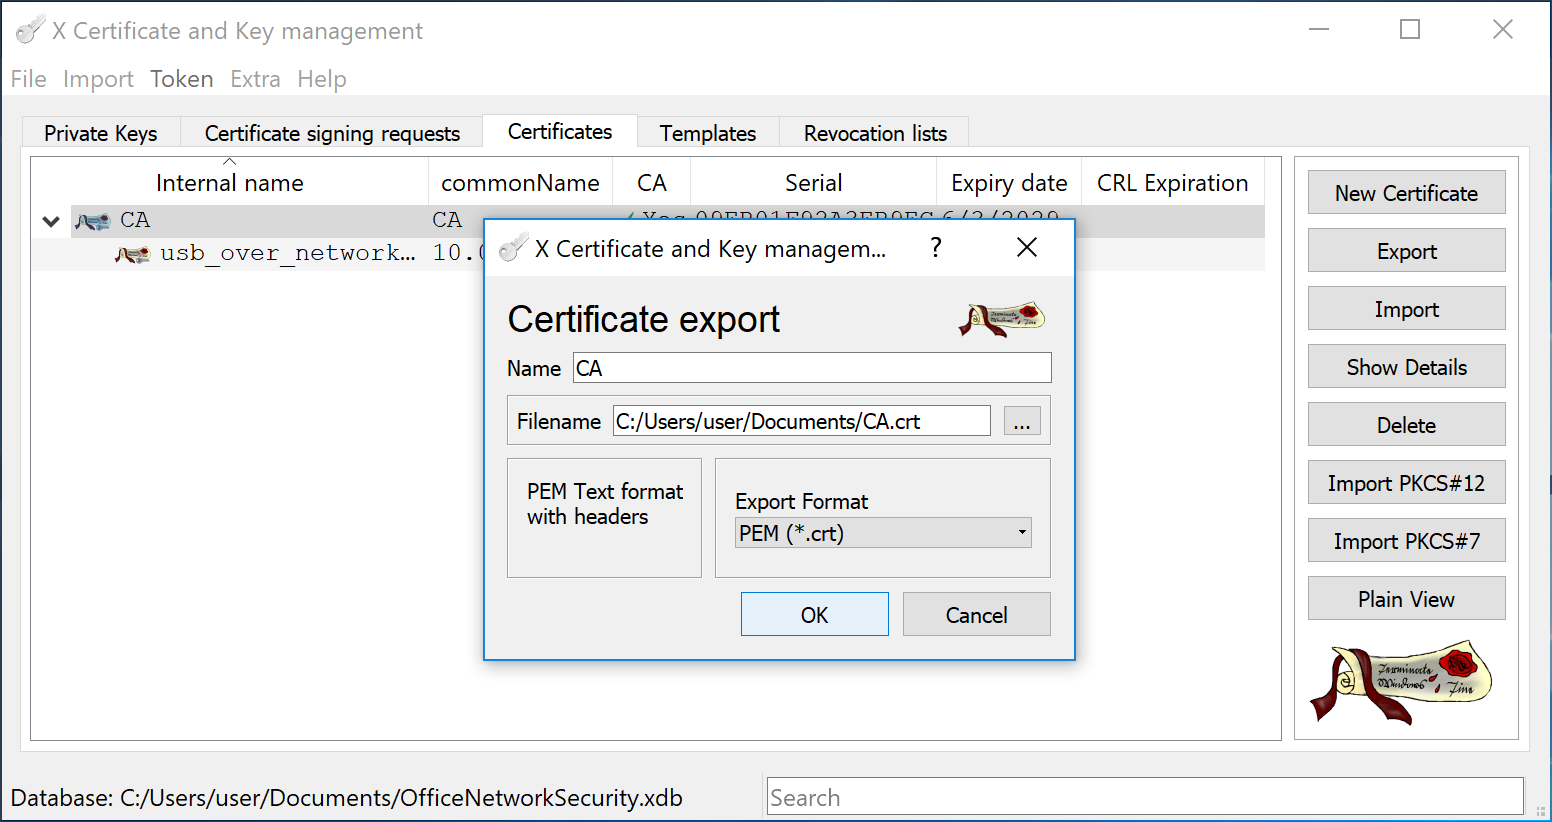
Repeat the step above and export the usb_over_network_server.crt file.
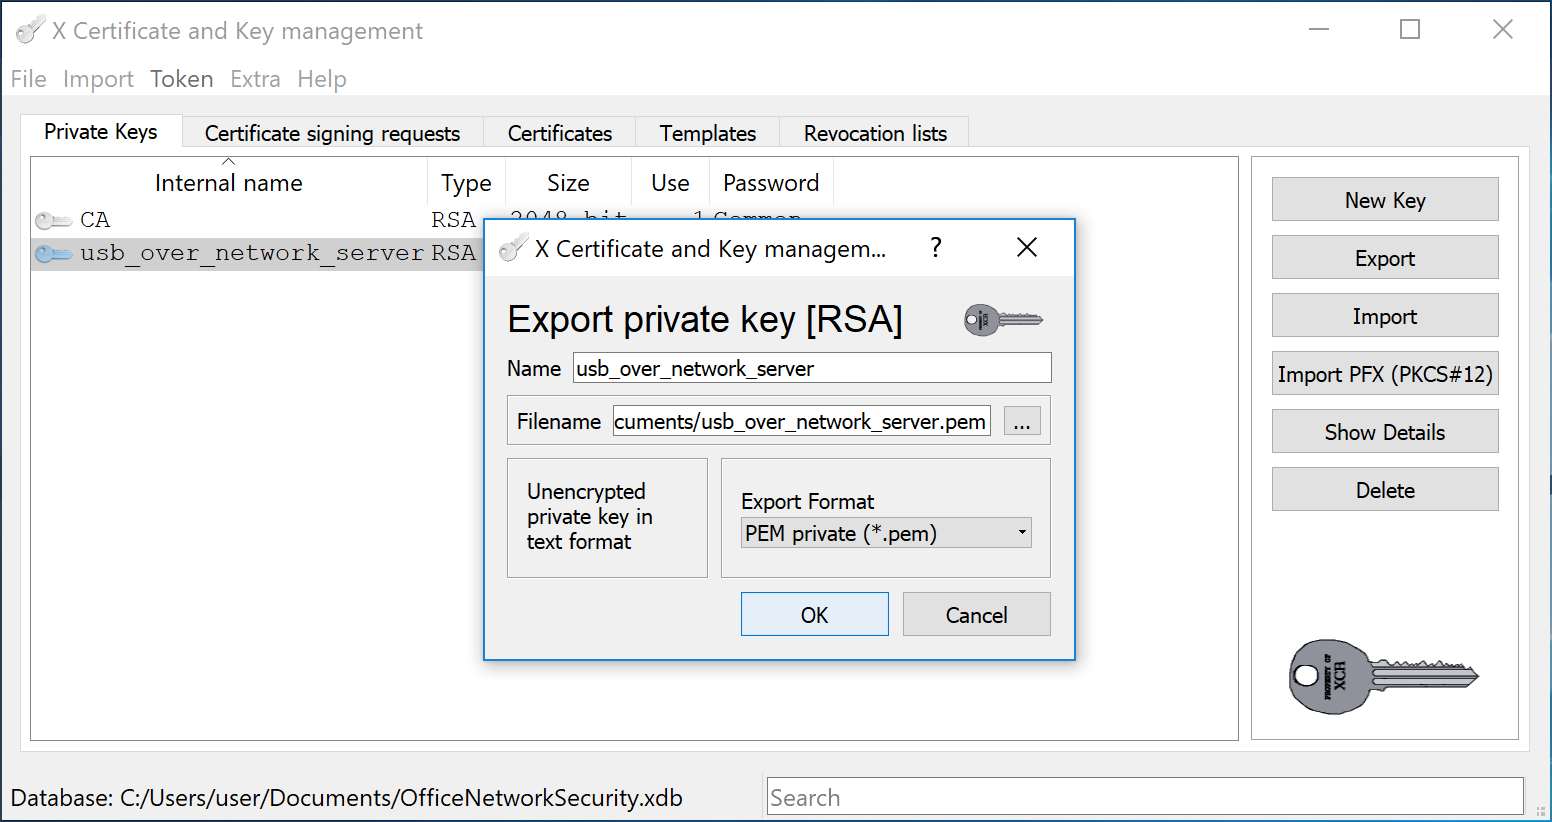
Then switch to Private Keys tab, select the usb_over_network_server Private Key and export it to the unencrypted usb_over_network_server.pem file.
Step 4: Configure the Server Side SSL Connection
In this example we will show how to configure FabulaTech software to use SSL-encrypted connection by example of USB over Network program. Nevertheless, SSL is configured in the similar way in all FabulaTech products which supports it.
To secure your connection, on the Server side, launch USB over Network Server, on the Settings menu click Preferences and select SSL Security tab.
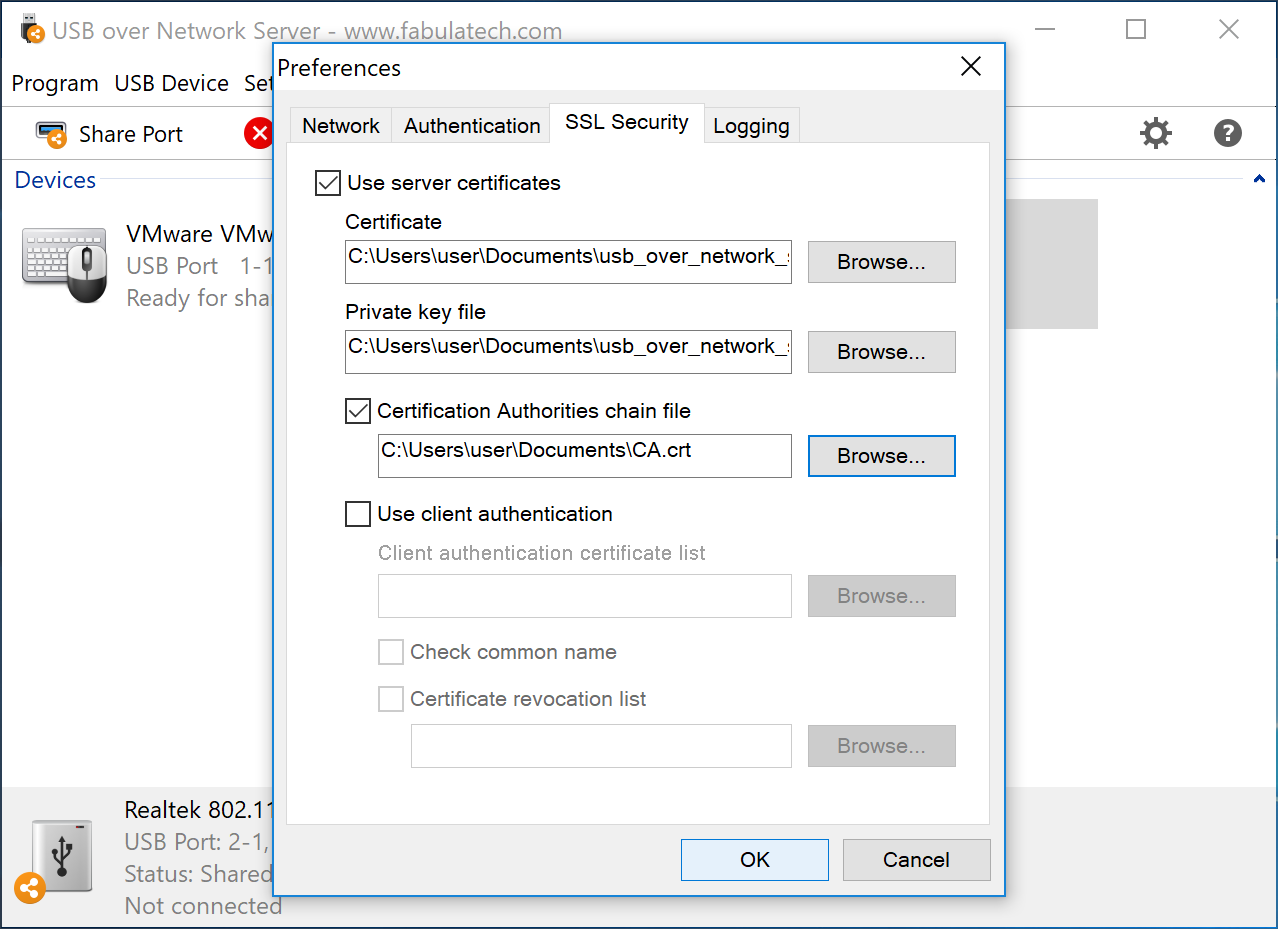
Select Use server certificate and specify the Certificate usb_over_network_server.crt and Private Key usb_over_network_server.pem files location which was exported in the previous step.
Also, mark the Certification Authorities chain file checkbox and specify the CA.crt file location in the field below.
Step 5: Configure the Client Side SSL Connection
To use trusted authority certificate on Client computers, we need the CA Certificate to be presented on them. Copy to the Client computer the CA.crt file which was exported in the step 3.
Then launch USB over Network Client, on the Settings menu click Preferences and select SSL Security tab.
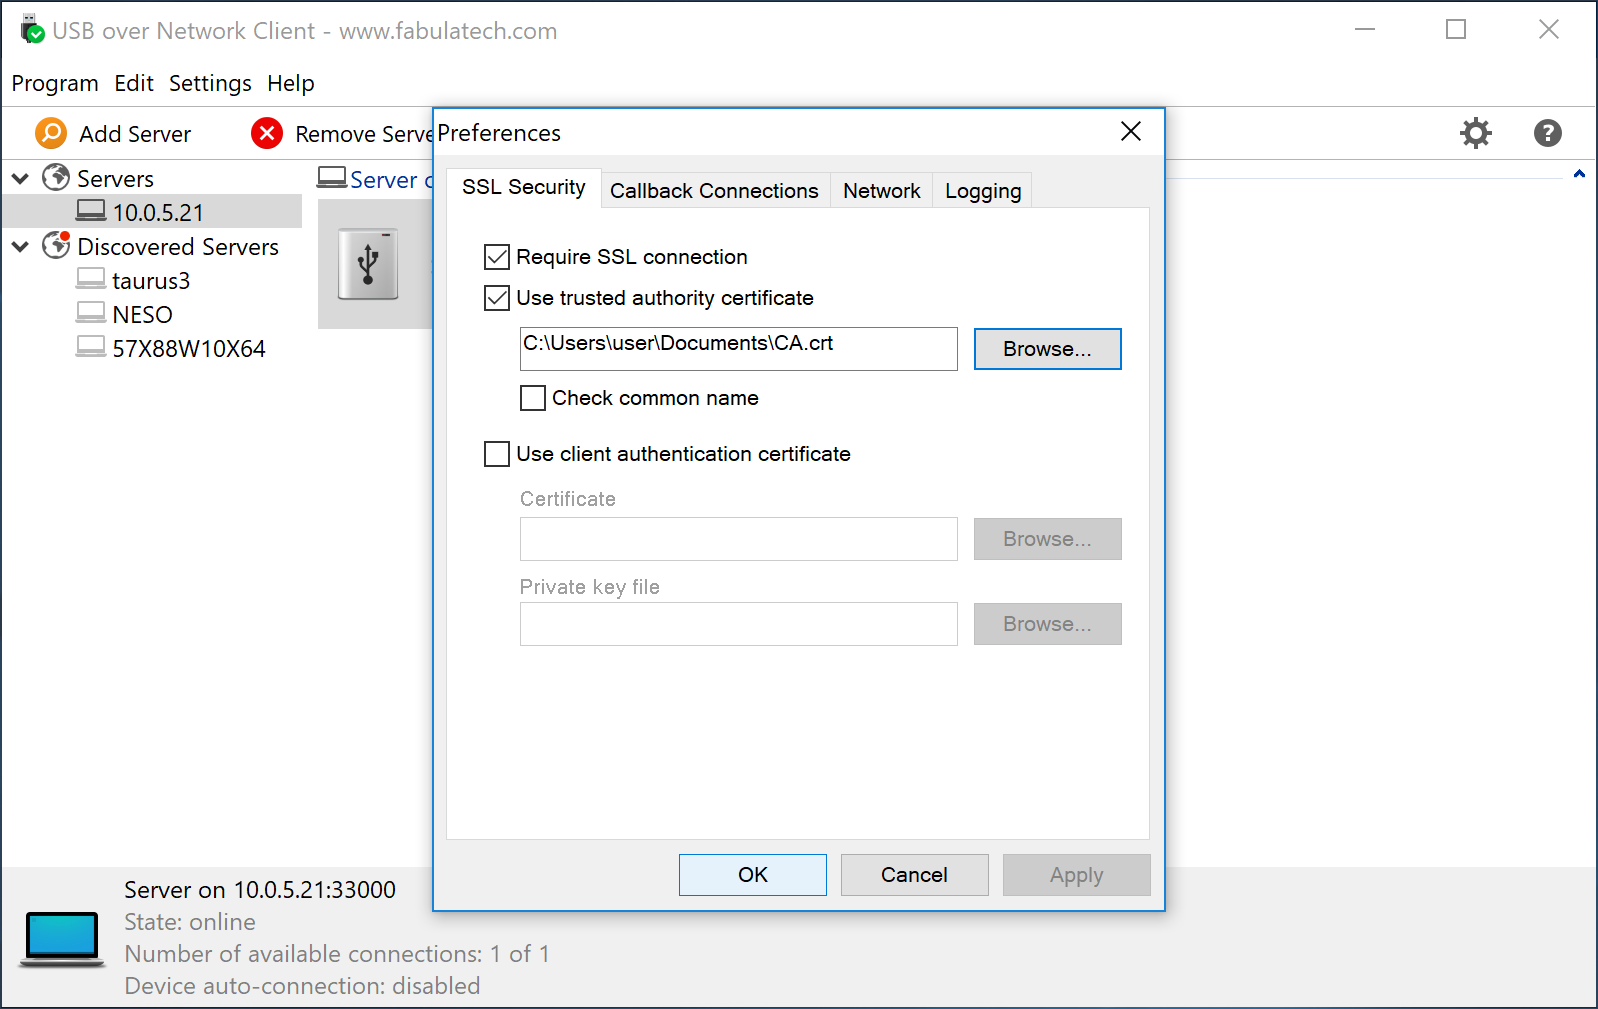
Mark checkboxes Require SSL connection and Use thrusted authority certificate and specify the CA.crt file location in the field below.
That's it. Now USB over Network connection is encrypted and secure.